CODAPPS
Creating a project and previewing your first app
last modified: 2018-03-16
'Escape' or 'o' to see all sides, F11 for full screen, 's' for speaker notes
1. Creating a project
Open NetBeans
Click on the second icon from the left:
Select a « CodenameOne project »:
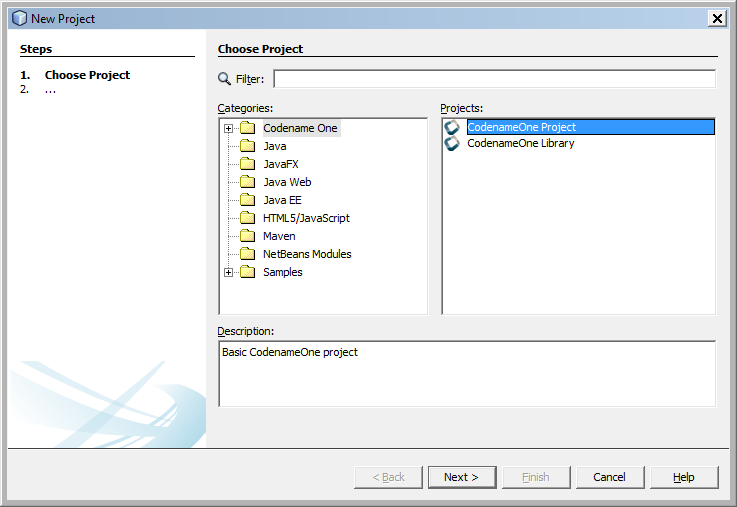
Then click on Next to move to the next screen.
Choose a name and a location for your project. Since the app will be about one of your interests / hobbies, choose in accordance!
Put no space in the name of your app
|
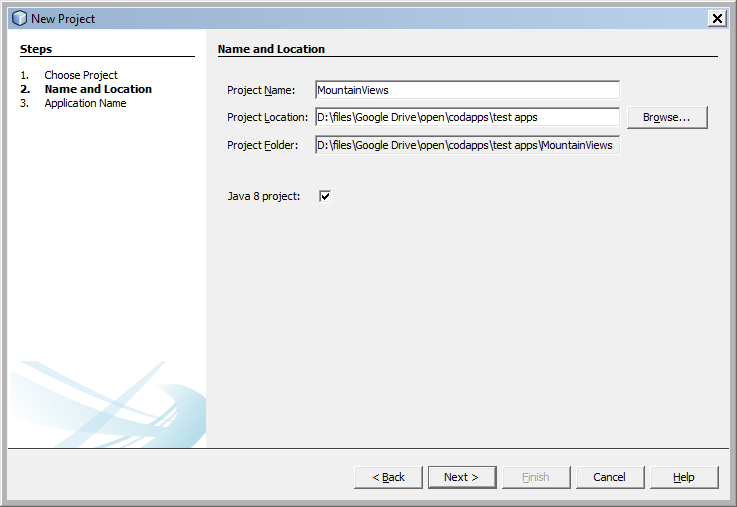
This will be the administrative name of your app on the app store so please choose it carefully !
Then click on Next to move to the next screen:
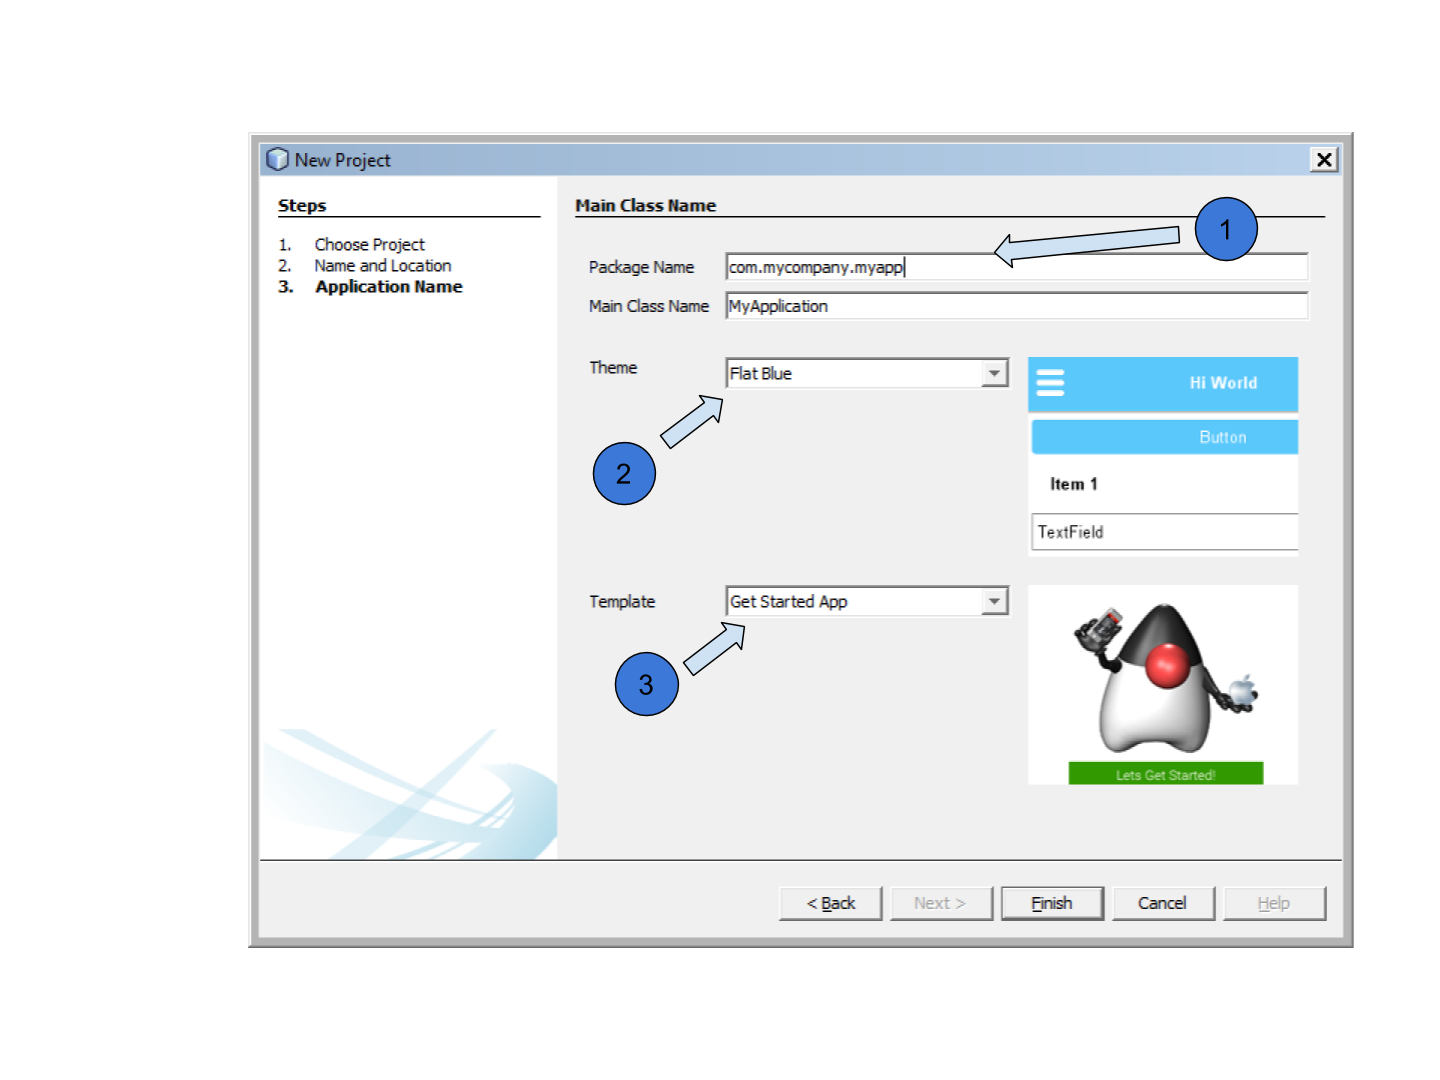
We will explain in turn what package name, theme and template you should choose:
a. The "package name"
This is the official id of your app. Basically, this is the way for Google or Apple to give an ID card to your app.
It should be unique: one package name for each different app you create.
The package name should contain at least three parts separated by dots. The default value suggested com.mycompany.myapp
|
You should absolutely have a correct package name as you can’t change it later.
(you will have to delete your app and start again from zero.)
How can we find a unique package name for an app?
The convention is to take the name of your website and reverse it:
→ if you build apps for emlyon (www.em-lyon.com), you’d have a package name like : com.emlyon.myfirstapp
If you don’t own a website, you can use the reverse of your email address. If your email is barackobama@gmail.com, your package name could be:
com.gmail.barackobama.myfirstapp
b. The "theme"
This defines the general colors and appearance of your app, how it will look like (you’ll be able to modify that later).
Please choose Native in the dropdown menu: this means that your app will have an Apple look on iOS, look like Android style on Android phones, etc.
c. The "template"
In the dropdown menu, choose the template « Hello World (Bare Bones) ».
This template allows us to design our app both with by drawing on screen and by programming (coding!).
Other templates would provide us with apps already prebuilt in some ways, we don’t use them.
Click on Finish and your app will be created.
2. Done! Preview your app.
The files of your app appear on the left of your screen in NetBeans.
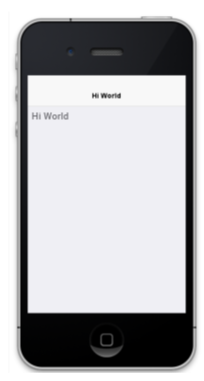
You can launch the preview of your app by clicking on the green arrow

It should show a blank screen with "Hi World" in the title, and "Hi World" again in the screen:
3. Previewing your app on different kinds of phones
By default, the preview shows how your app would look like on an iPhone 3. It is possible to preview it on any phone you like.
a. Downloading new "skins"
A phone’s appearance is called a skin. To add new skins for previewing your apps:
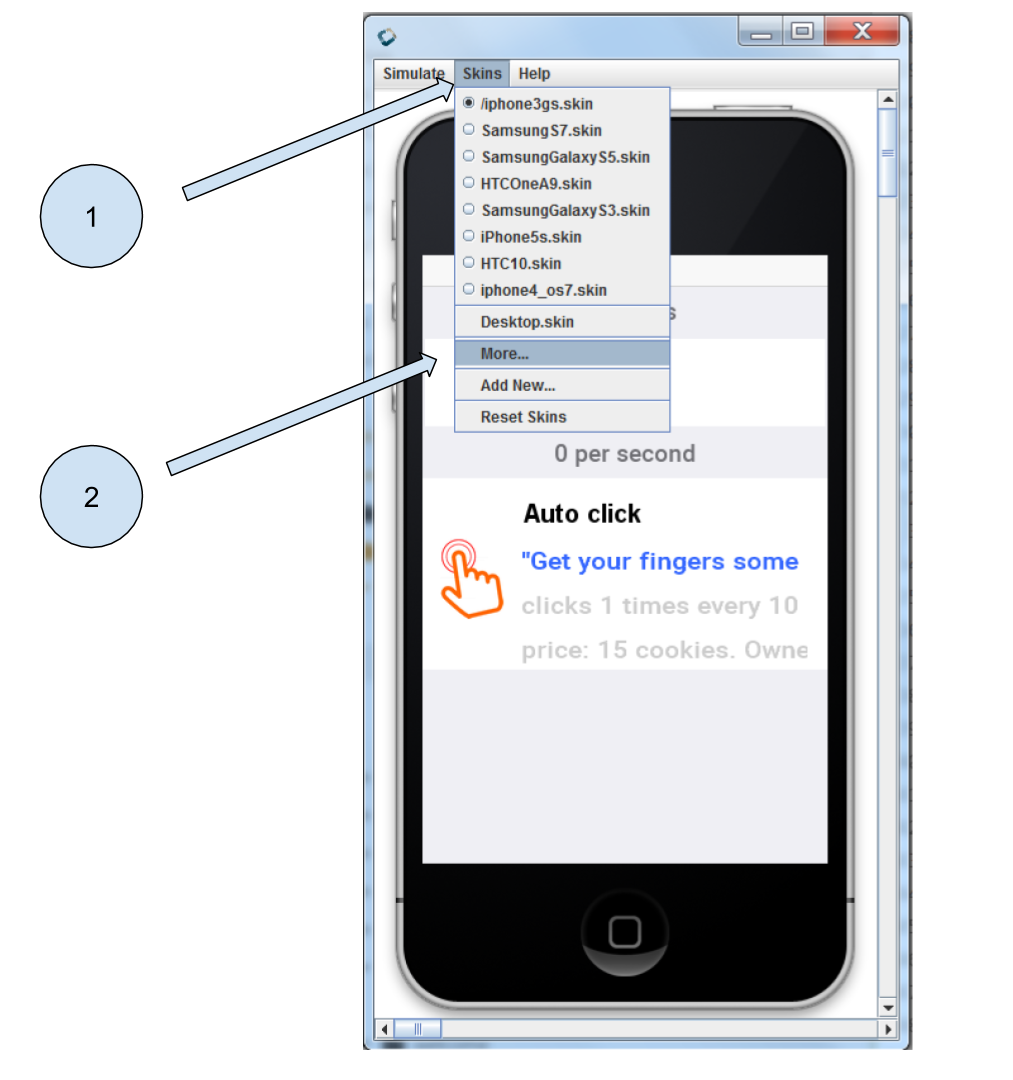
Launch the preview
Choose the menu "skins"
Choose "More…"
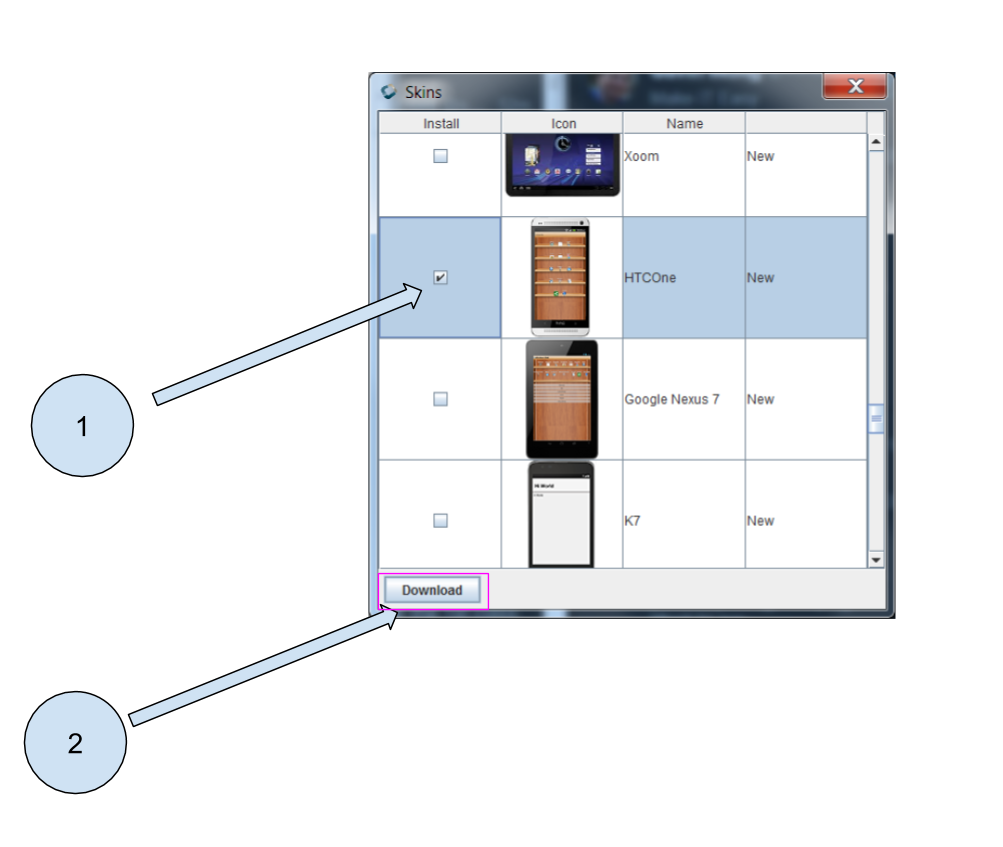
Then:
1. wait a couple of seconds for the list of available skins to appear
2. Select the one you need. You can pick several at once.
3. Click on download
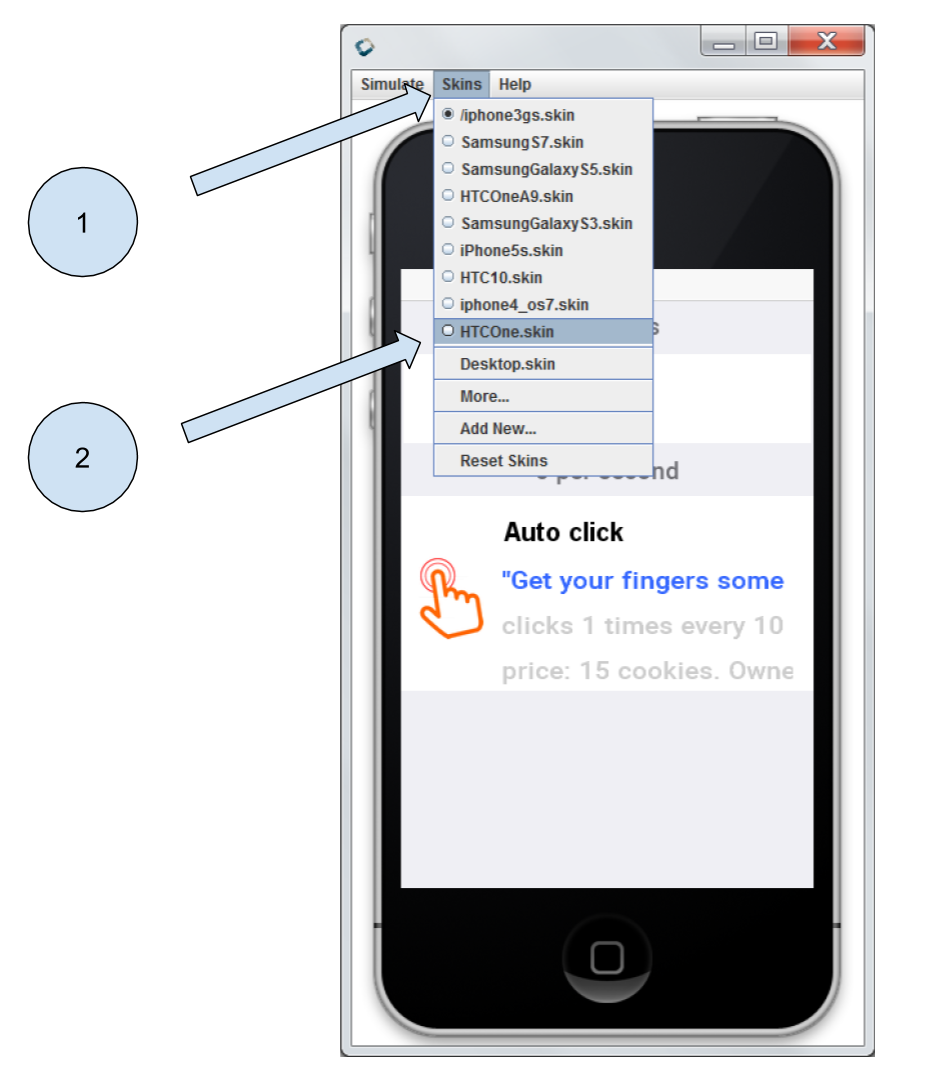
The skin(s) you downloaded are now available. Pick the one you want from the skins menu:
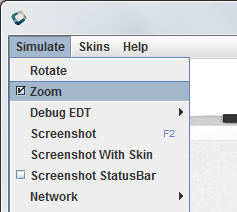
b. Adjusting the size of the skin to the screen
The skins you will choose might be show a preview which is too large to fit on the screen of your computer:
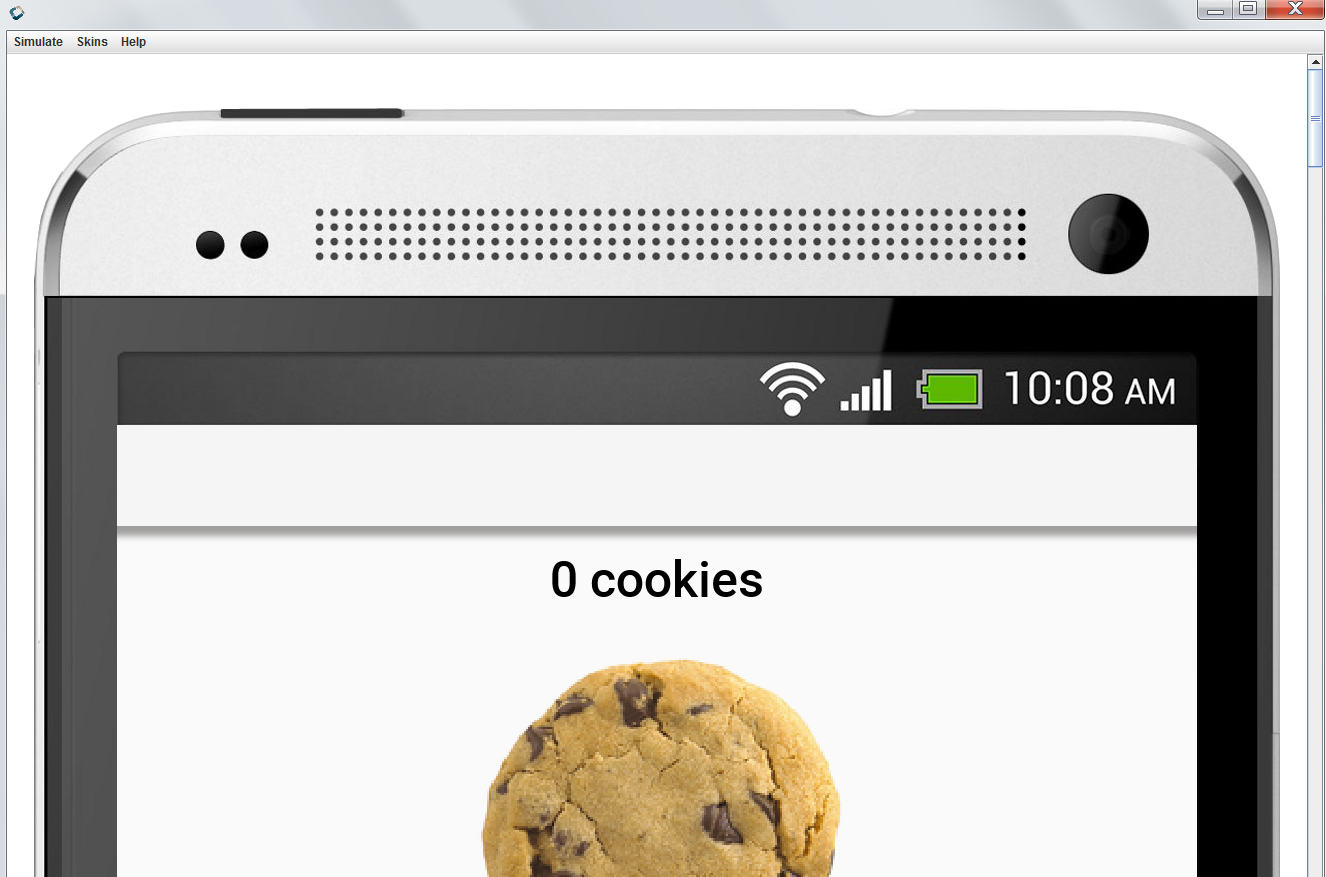
The solution is simply to de-select the zoom option in the menu of the preview:
Congratulations, you started creating your first app and you can already preview it! 🎉
This is the end of the first module. You should now be able to:
install NetBeans, on Mac or PC (we did not cover Linux but this should work as well)
install the Codename One plugin in NetBeans
check that the Codename One plugin is up-to-date, if not you should be able to update it.
create a first project (your first empty app)
launch the preview of your app from NetBeans
In the next module, we will review some basic notions of software development, and we will learn how to create a new screen for our app!
The end
Questions? Want to open a discussion on this lesson? Visit the forum here (need a free Github account).
Find references for this lesson, and other lessons, here.
Licence: Creative Commons, Attribution 4.0 International (CC BY 4.0). You are free to:
copy and redistribute the material in any medium or format
Adapt — remix, transform, and build upon the material
⇒ for any purpose, even commercially.
 This course is designed by Clement Levallois.
Discover my other courses in data / tech for business: http://www.clementlevallois.net
Or get in touch via Twitter: @seinecle